If you aren't familiar with brushes but do use photoshop here's a quick run down (p.s. I am using photoshop version 7):
 1. Open up photoshop, find an image that you like (drawings and thick lined images work best, or images with the background cut out)
2. Edit your pic. (cut out background if necessary)
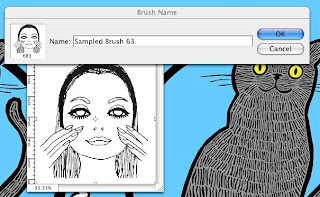
3. Click on 'Edit> Define Brush Preset'. Note: If your image is too big then 'define brush preset' will be ghosted, make your image smaller and try again.
4. When the 'Brush Name' option comes up (see photo #1) click on 'OK'
5. That's it! Now click on your brush icon (from the photoshop palette) and scroll all the way to the bottom, there's your new brush!
Note: When downloading brushes from a site like DeviantART you must first click on 'download' from the DeviantArtist's page, then while in photoshop click on your brush tool then click on your brush options. From there you will need to click on the arrow on the top right and scroll down and click on 'load brushes', (browse through your hard drive and) scroll to your recently downloaded brushes and click on the correct file (the file you just downloaded from DeviantArt) then click 'load'. Now your brushes will automatically be loaded into your brush palette! It's that easy!
 A brush sort of acts like a rubber stamp of sorts and the great thing about brushes is once you've created it there's no backgrounds to cut out and you can choose whatever color you want your 'stamp' to be. Brush away!
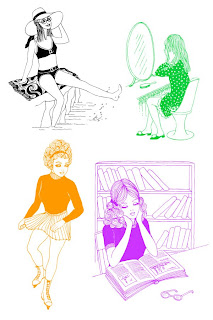
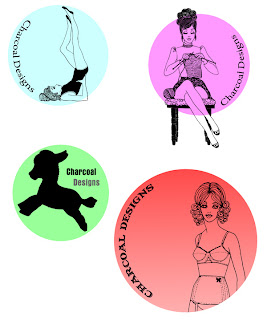
 I used some of my deviantart.com brush downloads today to create some images to use for mini pins I'm gonna' hand out at shows (for free) this summer. Cute Promos! Woo Hoo! Aside from the donkey (I created this brush myself) the cute 60's style chicks are all from punksafetypin at www.deviantart.com.
 Brush Set 18 - That 70s Girls by ~punksafetypin on deviantART


No comments:
Post a Comment